Glass Doctor explains how to install a doggie door in your storm door for pet convenience.
|
It's easiest to order a storm door with a doggie flap already in place, especially if your exterior doors are due for an update. However, if you're happy with your existing setup, you can add a doggie door without too much trouble. Follow these step-by-step instructions for dog door installation in a storm door.
Tools & Materials
To complete this project, you need the following:
- Dog door installation kit
- Tape measure
- Scissors
- Masking tape
- Pencil
- Power drill
- 1/2-inch and 3/8-inch drill bits (or as required by the manufacturer)
- Jigsaw or reciprocating saw
- Pliers
- Screwdriver
- Caulk
Sizing Your Dog Door
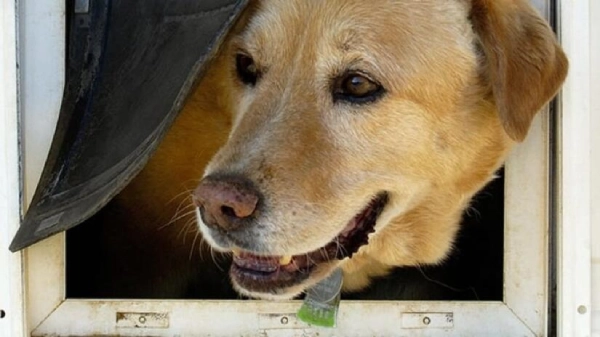
To ensure the best results from your efforts, make sure you purchase a door your dog can comfortably fit through. Doggie doors range in size from 5 inches by 8 inches to 13 inches by 23 inches.
Measure the height of your dog's torso from the top of his shoulders to the bottom of his chest just behind his front legs. Then, measure the widest part of his body. The dog door kit you purchase should be 2 inches taller and wider than the measurements you take.
Steps for Dog Door Installation in a Storm Door
- The dog door manufacturer should provide a template. Cut this out as directed using scissors.
- Position the template in the desired location on the door, at least 3 inches from the threshold, and tape it in place.
- Trace the inner edge of the template onto the door with a pencil. Mark the screw holes, if applicable.
- Remove the template and mark four Xs on the inside corners of the outline.
- Drill holes in the center of each X using a 1/2-inch drill bit, being sure the holes don't go past the outline. If your pet door requires screw fasteners, drill screw holes using a 3/8-inch bit or whatever size the manufacturer recommends.
- Make a cut-out in the door using a jigsaw or reciprocating saw. Insert the blade into one of the 1/2-inch corner holes you drilled and carefully cut along the outline. Repeat on all four sides of the pet door.
- Insert the outer frame into the opening on the exterior side of the door. If the frame is thicker than the storm door, remove one break-off level at a time using pliers until the dog door frame is flush with the storm door.
- Insert the inner frame containing the flap into the opening on the interior side of the door. Position the screws, if applicable, and tighten with a screwdriver.
- Caulk the interior of the dog door frame to help reduce air leaks.
Teach Your Pet to Use the New Doggie Door
It may help to remove the flap from the door for a day or two. You can also try calling your pet through the opening and rewarding him with treats when he comes to you. Be patient. Some animals take longer than others to grasp the concept. Once your pet masters the doggie door, he'll relish his newfound freedom to come and go as he pleases.
Glass Doctor® Installs Dog Doors
If you're overwhelmed by the idea of performing your own dog door installation, turn to the experts at Glass Doctor for the job. Our qualified specialists retrofit pet doors into existing storm doors, patio doors, front and back entry doors, interior doors, and more. If you and your pet could benefit from this service, please contact us today!