Glass Doctor provides a guide on building a curbless shower:
|
A curbless walk-in shower is an ideal upgrade for those who want to bring style and function into their bathroom. Its sleek, modern design eliminates the traditional threshold and also makes it more accessible. Before we jump into walking you through how to build a curbless shower, we'll look at some benefits, and share scenarios that call for a pro. Let's start at the beginning.
What is a Curbless Shower
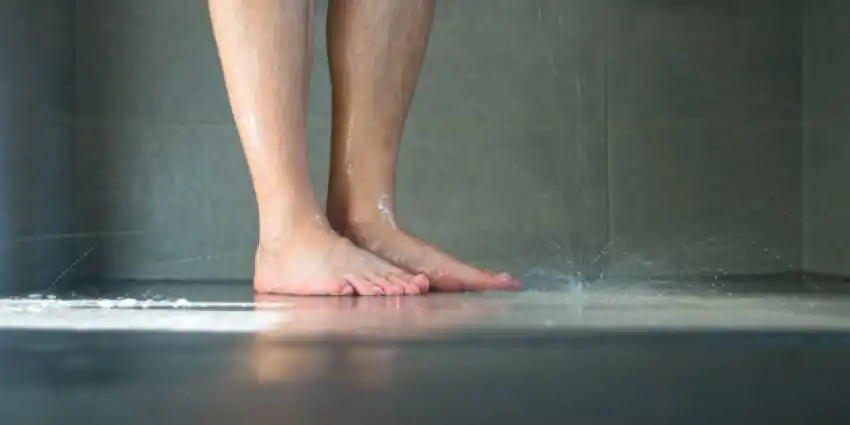
A curbless shower is also known as a barrier-free or walk-in shower. This type of shower design eliminates the traditional raised edge (or curb) that separates the shower area from the rest of the bathroom floor, allowing the shower floor to be flush with the bathroom floor.
Why Go With a Curbless Shower?
There are plenty of reasons to go curbless, and the reasons differ from one person to the next.
Safer Entry and Exit
For many, the most important reason to do away with the curb is safety. Curbless showers provide easy, safe entry and exit. This is especially critical for young children, the elderly, and people with limited mobility, but these safety benefits extend to all shower users. Most of us have tripped, slipped, or stubbed our toes in the shower in a pre-coffee daze. A curbless design mercifully prevents such painful mishaps.
Elegant Design
Another key advantage of curbless showers is their sleek look. The lack of a curb, or lip, at the base of the shower creates clean, uninterrupted, eye-pleasing lines. The overall effect is one of subtle elegance, raising the aesthetics of your bathroom.
Ease of Cleaning
From a practical perspective, no curb or additional joints simplifies cleaning and maintenance. That also means there are no crevices where moisture can hide and mold and mildew can form.
If you're convinced that a curbless shower solution is for you and you're ready to roll up your sleeves, let's have a look at what you need.
Tools Will You Need to Make Your Curbless Shower
Aside from measuring twice and cutting once, part of pulling off a successful project is having the right tools and materials on hand. Assemble:
- Measuring Tape
- Utility Knife
- Circular Saw
- Hole Saw
- Power Drill
- Tile Saw
- Trowel
- Thin-set
- Caulking Gun
1. Determine Base Location
The first step in building a curbless shower is making sure the floor can slope correctly to direct water toward the drain. Use your measuring tape to confirm that the measurements of your shower space align with the dimensions of your planned shower pan. Finally, check that the floor is level to ensure the base of your shower will sit properly and drain correctly.
2. Cut Through Subfloor
Once the location is set, it's time to cut through the subfloor to make space for setting your drain. This step is critical for proper drainage, so be sure to carefully plan the drain's location and line it up with the existing plumbing. Use your circular saw to cut through the subfloor, and a hole saw to make a clean hole for the drain pipe. If necessary, use your power drill to secure any plumbing components in place before continuing.
3. Reinforce Flooring
Next, reinforce the subfloor so it can support the weight of the shower base, tile, and water over time. For this, you'll need sturdy materials like plywood or cement board. Lay down a solid, moisture-resistant layer to support the shower pan. Secure the flooring using your power drill and screws, making sure everything is aligned and stable. This will help prevent sagging or damage to the floor in the future.
4. Fasten Pan to Floor
Now, it's time to install the shower pan. Position the shower pan over the reinforced subfloor and make sure it fits snugly and aligns with the drain. Use your power drill to secure the pan to the floor. Before fastening it down completely, check the slope of the pan using your level to ensure it's slanted slightly towards the drain. This slope is essential for proper water drainage and to avoid standing water.
5. Install Backer Board
With the shower pan in place, install the backer board along the shower walls. The backer board provides a moisture-resistant surface for tile adhesion and prevents water damage. Cut the backer board to fit the walls using your circular saw, and then secure it to the studs with your power drill. Ensure the backer board is level and properly aligned.
6. Waterproof Your Curbless Shower
Waterproofing is one of the most important steps in the process. Waterproofing a curbless shower involves applying a waterproof membrane to both the floor and walls. Start by covering the floor and then work your way up to the walls, ensuring the membrane extends beyond the shower's edges. Use your utility knife to trim the membrane to the appropriate size. It's essential to carefully seal all seams, especially in corners. You want to double-check that the membrane is completely sealed and free of air pockets or gaps.
Pro tip: It's critical that you adhere to the curing time for the membrane before taking next steps.
7. Install drain
With the waterproofing complete, it's time to install the drain. Make sure the drain lines up with your plumbing and fits securely into the drain hole in the pan. Apply a small amount of thin-set mortar to secure the drain and create a watertight seal. Use your power drill to fasten any necessary drain components in place. Double-check the alignment to make sure the drain is level and properly positioned for effective drainage.
8. Lay the Tile & Apply Grout
Once the drain is in place, it's time to lay the tiles. Make sure you use waterproof adhesives and grout when tiling.
Start by evenly spreading thin-set mortar on the floor using your trowel. Lay the tiles one by one, pressing them gently into place to ensure proper adhesion. Use a tile saw to cut tiles around the edges and corners to fit your design. As you work, be mindful of the pattern and consistency of the grout lines. Allow the mortar to set according to the manufacturer's instructions before moving on to grouting.
9. Inspection & Final Checks
After everything is said and done, it's important to do a final inspection of your work. Check for gaps in the waterproofing or inconsistencies in the tile layout. Test the drainage by running water through the system to confirm that everything is flowing toward the drain and there are no areas where water pools.
When to Call a Professional for Assistance With Your Curbless Shower
While many DIYers can install a curbless shower on their own, certain tasks may require a professional's expertise. Complex plumbing, such as rerouting pipes or installing a new drainage system, and major structural changes like modifying the subfloor or walls, often require specialized knowledge to avoid costly mistakes.
Even in simpler DIY projects, issues like improper waterproofing, incorrect slope, or poorly installed drains can lead to long-term problems. When in doubt, calling a professional can save time, and money, and ensure your shower is built to last.
Why Choose Glass Doctor for Your Shower Service Needs
Working with a professional service like Glass Doctor® ensures your curbless shower installation is carefully handled. Whether you're looking for custom shower enclosures, repairs, or replacements, Glass Doctor offers a wide range of services to meet your needs.
Our service professionals have the knowledge and know-how necessary to handle all aspects of shower design and installation, including correct plumbing and waterproofing, which are often the most challenging parts of the process. And with our Neighborly Done Right Promiseâ„¢, you can trust that we'll ensure your satisfaction.
Shower Repair & Replacement Services Near You
We know shower projects can be daunting. Contact your local Glass Doctor to schedule a custom shower door or enclosure consultation and start your project with confidence. Give us a call or request a job estimate for more information.
This article is intended for general informational purposes only and may not be applicable to every situation. You are responsible for determining the proper course of action for your home and property. Glass Doctor is not responsible for any damages that occur as a result of this blog content or your actions. For the most accurate guidance, contact the Glass Doctor location nearest you for a comprehensive, on-site assessment.

