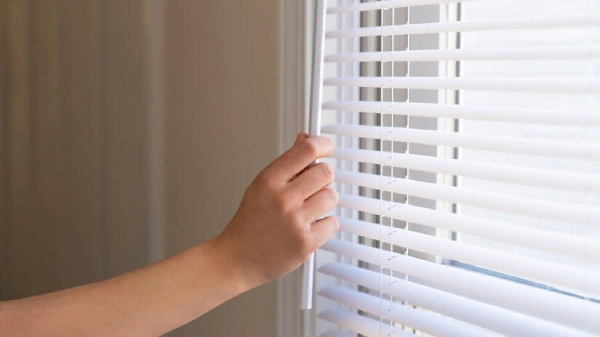
Glass Doctor explains how to install window blinds inside or outside frames.
|
Window blinds bring privacy and sound-dampening properties to a home. There are two ways to mount window blinds. A homeowner may choose to mount blinds within a window or doorframe, or on the outside of the doorframe.
How to Install Blinds Inside a Window Frame
Homeowners who choose to install window blinds inside a window frame do so for several reasons, including that it admits more light into the home and offers a cleaner appearance.
If you choose to install your blinds this way, you will likely need:
- A level
- Tape measure
- Pencil
- Cordless drill
- Screwdriver
- Philips bit
- Screws
- Mounting brackets
- Blinds
You may also want to consider enlisting an assistant. Having another person assist you when on a ladder is always a good idea. They can help stabilize the ladder and hand you any tools or materials.
Now that you have everything you need, follow this step-by-step process to install your blinds:
- Measure your windows from the inside.
- Mark the location of your bracket 1-¼ inches away from the glass. This will prevent the blinds from touching the glass once they're hung.
- Mark the location of the screw holes. Place your bracket at the 1-¼ inch spot from step two and mark where your screws will go.
- Drill the holes.
- Line your bracket up with the holes from step 4 and screw the bracket into the wall.
- Repeat steps 2-5 for the right side of your window.
- Slide the top of your blinds into the brackets one side at a time. Clamp the bracket covers down once your blinds are secure.
How to Install Blinds Outside a Window Frame
Installing blinds outside the window frame will make your window look larger, opening your home. Additionally, you will have a larger selection of window covers to choose from because you're not constrained to the shape of your window.
And again, having another person assist will make this job easier. If you plan on installing blinds outside of the window frame, you will need:
- A level
- Tape measure
- Pencil
- Mounting brackets
- Electric screwdriver
- Phillips bit
- Hollow wall anchors
- Blinds
After you have collected the necessary items, you're ready to start installing:
- Measure your windows from the outside and divide this number by two. This represents the center of your window. Mark the center of your window at the top.
- Measure the width of the headrail of your blinds. Divide this number by two to get the exact center of your headrail. Mark the center of your headrail.
- Line up the center point of your headrail with the center point above your window. Mark the top and bottom of your headrail, as well as both ends. This is where having an assistant comes in handy.
- Mark mounting bracket holes at either end of your headrail.
- Take one of your hollow wall anchors and set it aside. Attach the Phillips bit to the end of your electric screwdriver and drill into where you marked the mounting bracket holes.
- Use the anchor screws to attach your mounting brackets.
- Slide the top of your blinds into the brackets one side at a time. Clamp the bracket covers down once your blinds are secure.
Let Glass Doctor Fix Your Glass Panes
Here at Glass Doctor®, we understand that you want your home to look its best and provide you and your family with the highest functionality. What's behind your blinds is just as important as the blinds themselves. Fix or replace the glass in your home's existing windows with help from our local professionals. Request an appointment online or call to get started on your next home glass project.

